
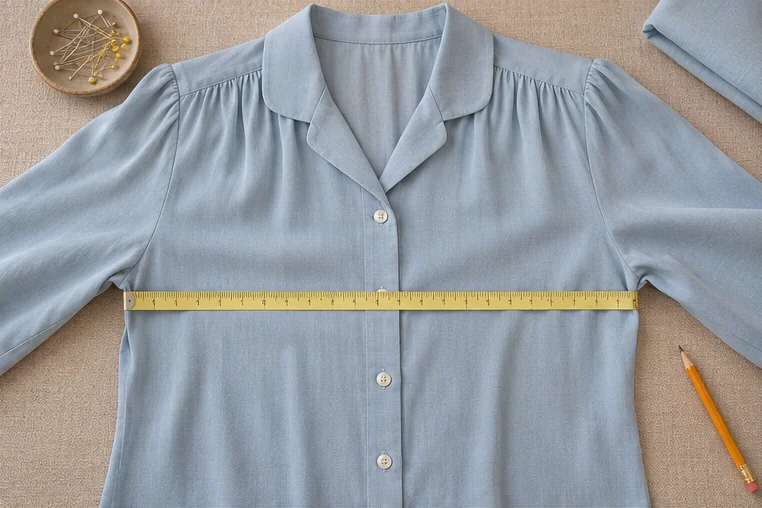
The person behind the base size
Measure the wearer in the bra intended for the style. With her arms relaxed, pass a flexible tape around the fullest bust. Find the natural waist where the torso bends sideways, then measure the hip around the fullest part of the seat. Keep the tape level without compressing the body. Record height as well if, for instance, a midi hem needs to finish at a particular point on the calf. Cashmerette’s illustrated measuring guide
Which size would you try on first?
The body size chart describes the intended wearer. For a fitted blouse, find the closest bust measurement and check the shoulders. For a straight skirt or trousers, look at the waist and full hip. The finished garment chart gives the size of the sewn piece. Check the units and whether the entry is a full circumference or a width measured flat. If you only have the second chart, measure a similar garment that fits well, using the same method. Cashmerette on choosing a size
Take a non-stretch pencil skirt whose body chart lists a 70 cm waist and 94 cm hip for S, and a 74 cm waist and 98 cm hip for M. Someone with a 71 cm waist and 98 cm hip falls between the two. If the finished hips measure 98 cm in S and 102 cm in M, the smaller skirt leaves no room at her hip. The larger leaves 4 cm. For this skirt, try M, have her sit down and pin any surplus at the waist.
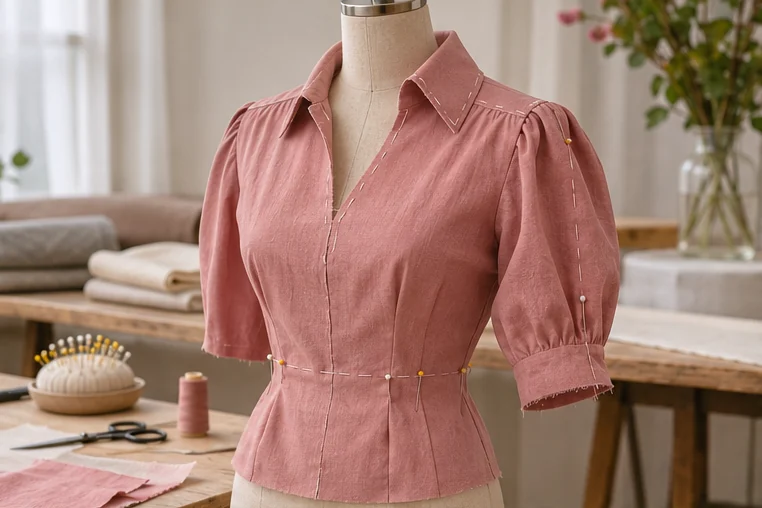
Mark both ends of the tape
Fasten the sample, lay it flat and smooth the fabric without stretching it. Draw the measuring lines on a photo. On a curved shirt hem, for example, mark whether the back length ends level with the side seam or at the lowest point of the hem.
| Measurement | What belongs on the sheet |
|---|---|
| Half bust | The straight width at the agreed bust level and the distance from the underarm to that line. |
| Half waist | The width at the marked waist. For elastic, say whether it was relaxed or extended. |
| Back length | The starting point on the back neck and the endpoint on the hem. State whether the collar is excluded. |
Where those 12 cm of ease sit
Ease is the difference between the finished garment circumference and the body circumference at the same level. It affects both the shape you see and the room the wearer has to move. Closet Core Patterns on fitting a bodice
For the straight, buttoned linen shirt in the example, a 52 cm half bust gives a 104 cm circumference. Subtract the wearer’s 92 cm bust to find 12 cm of total bust ease. With an asymmetric or pleated shirt, measure front and back separately in their intended positions before doing that calculation.
Have the wearer reach forward and sit. If the placket opens, look at the distribution of fullness across the front and the position of the buttons. Adding equal width at each side seam will also change a back that may already fit.
From a fitting photo to a pattern change
- Write the date, style, sample version, base size and units on the fitting photo.
- Beside each marked point, give the target, the actual measurement and the agreed tolerance.
- Describe the problem in the wearer’s position. “The placket opens at the fullest bust when seated” tells the pattern maker what to look for in the front or side view.
- Attach the photos and sheet to the revision request. Measure the next sample at the same marks. After base size approval, check the other sizes against their own targets. Sample development